You already know that cheap paper sends the wrong message. Whether preparing a major corporate announcement or a personal milestone, understanding how photo-back wedding invitations work and what to expect from start to finish guarantees a lasting impression.
We see clients struggle to balance professional elegance and personal connection. Photo-back invitations solve that exact problem.
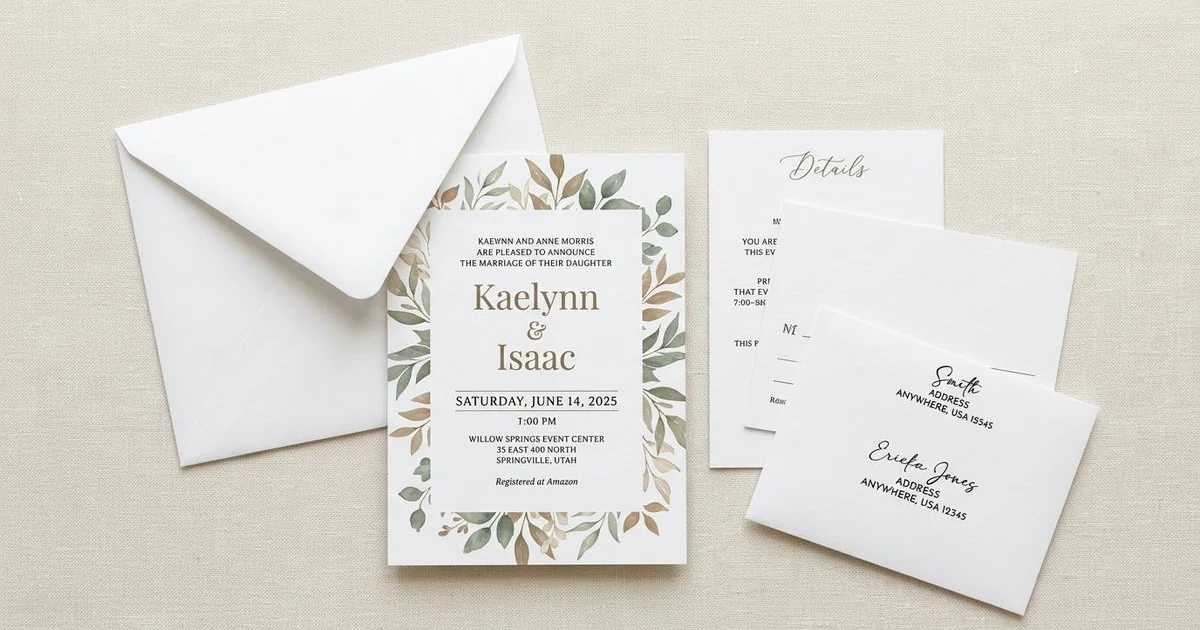
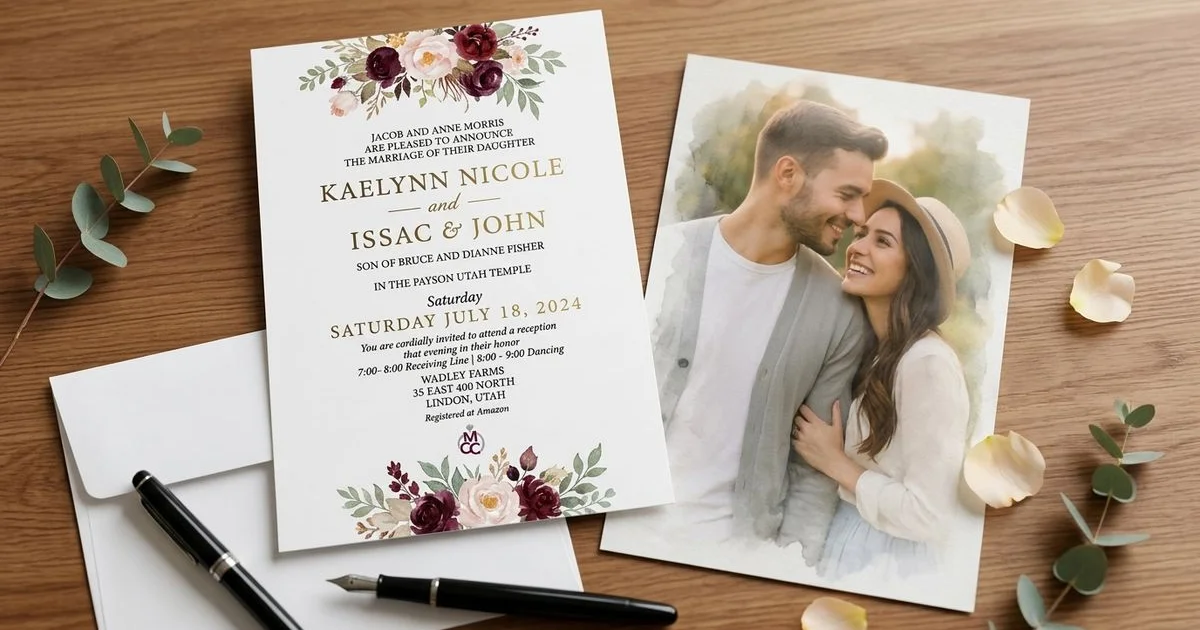
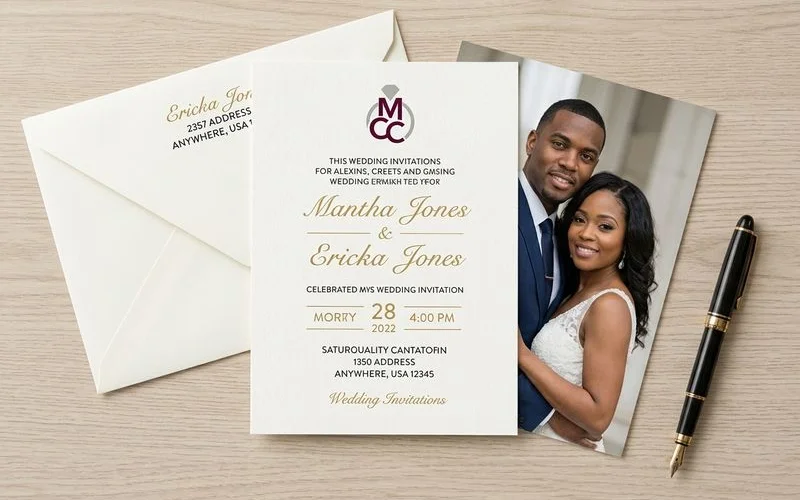
They combine a formal layout on the front with a high-resolution image on the back.
Our professional service team uses this guide to explain the exact mechanics of these double-sided cards. Let’s break down the data, review the technical requirements, and explore a few practical ways to guarantee an exceptional result.
How Photo-Back Wedding Invitations Work: What to Expect from Start to Finish
We track design trends closely, and recent 2026 data shows a massive shift to clean, editorial layouts. Couples and event planners are stepping away from overdecorated designs to embrace curated, intentional photo placements.
This format turns a standard announcement into a tangible keepsake. People naturally hold onto thick, premium photo cards much longer than standard text-only sheets.
Standard 5x7 inch (A7) rectangular invitations look highly professional and avoid the $0.49 USPS non-machinable surcharge that square envelopes trigger.
Our clients appreciate how this simple design choice keeps the mailing process efficient and predictable. You get a premium look without unexpected shipping fees.
Step 1: Choose Your Photo
The very first decision involves selecting an image that meets commercial printing standards. Here are the technical guidelines for choosing a flawless photo.
Go for High Resolution
We strictly enforce a minimum resolution of 300 DPI (dots per inch) for all print projects. A standard 5x7 inch card requires an image size of at least 1500 by 2100 pixels to maintain sharp clarity.
Most professional photographers provide high-resolution files that exceed these specifications. Social media downloads compress images down to 72 DPI, and our production equipment will flag these files because they look heavily pixelated in print.
Consider the Composition
We recommend looking for photos with specific structural elements that translate well to print. A commercial printing press requires a little extra room around the edges, known as the bleed margin.
US printing standards usually add 0.125 inches of bleed space to the perimeter. This means any crucial details placed too close to the edge might get trimmed during the final guillotine cut.
Keep these compositional details in mind:
- Clean backgrounds: Simple backdrops will not clash with your text overlay.
- Central focal points: The primary subjects should remain near the center of the frame.
- Horizontal orientation: Wide photos fit the standard A7 dimensions much better than tall, vertical shots.
- Even exposure: Natural lighting prevents harsh shadows that printers often exaggerate.
Color vs. Black and White
We see stunning results from both color and grayscale options. Vibrant colors create a celebratory mood, while black and white processing delivers a timeless, formal aesthetic.
A major 2026 US wedding trend involves building layered, neutral color palettes. Black and white photos pair flawlessly with these softer shades of sage, slate, and terracotta.
Our pre-press process runs on the CMYK color model. Ask your photographer to provide files in the Adobe RGB color space rather than sRGB, as Adobe RGB converts much more accurately to commercial CMYK presses.
Step 2: Design and Layout
Our design interface brings your selected image and typography together into a cohesive unit. You can choose from several standard layout structures based on your preference.
“A well-structured layout ensures your typography and photography complement each other rather than competing for attention.”
Full-Bleed Photo
We stretch the image across the entire back of the card with zero borders in a full-bleed design. This creates a highly dramatic, modern aesthetic.
You must ensure no important visual elements sit within that outer 0.125-inch bleed margin. The trimming process will clip anything resting on that extreme edge.
Photo with Border
Our traditional border layout frames the image with a solid white or colored band. This classic choice guarantees that no part of the photo gets trimmed off during production.
A crisp border provides a finished, architectural look that business owners and homeowners recognize as a mark of quality. It works beautifully with almost any image.
Photo with Text Overlay
We can layer your names, the event date, or a brief message directly over the image. The text requires a quiet, uncluttered area of the photograph to remain legible.
Designers call this the “safe zone” for typography. Follow these placement rules for the best results:
- Keep all text at least 0.25 inches away from the borders.
- Select high-contrast font colors that stand out against the background.
- Avoid placing text directly over faces or intricate details.
Split Design
We often divide the back panel into two distinct sections for a split layout. One half holds the photograph, while the other accommodates a pattern, a quote, or functional details.
Adding a functional QR code to this text half is a rapidly growing 2026 trend. The code can link guests directly to an interactive map or an event website, combining premium print with modern digital convenience.
Step 3: Paper and Printing
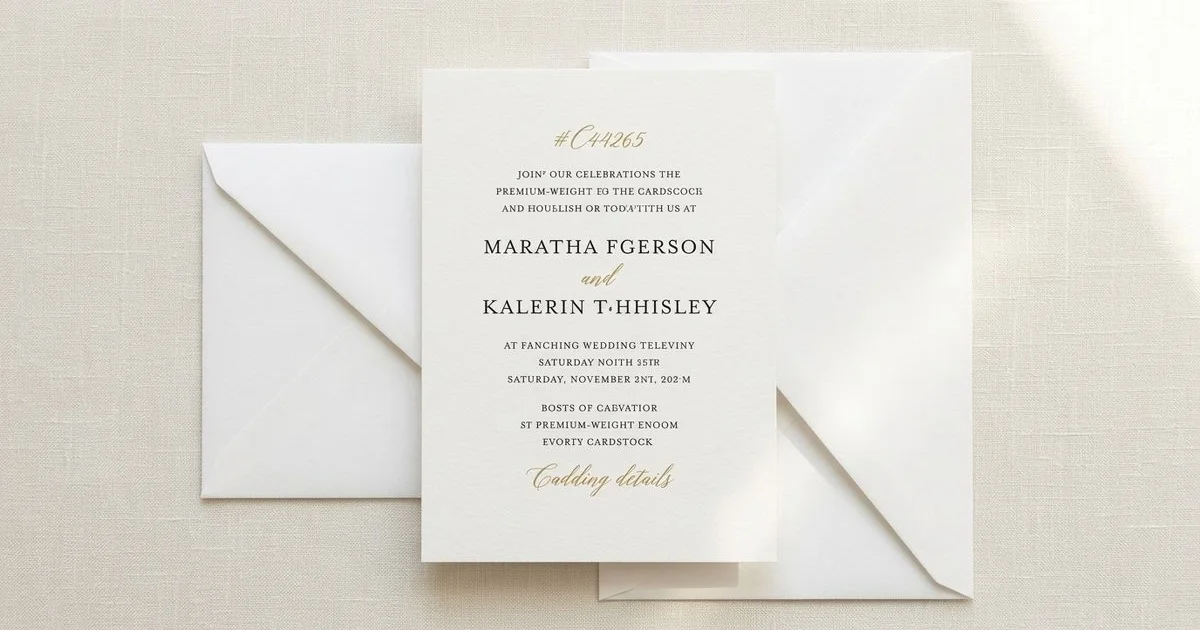
We know that the physical materials dictate the final perceived value of the invitation. Photo-back printing requires heavy-duty stock that absorbs ink evenly without warping.
Paper Weight and Finish
Our standard recommendation is a 120 lb cover stock, which translates to roughly 324 GSM in metric weight. Premium American paper brands like Mohawk Superfine utilize this exact thickness to deliver a substantial, rigid feel in hand.
You will need to select a surface finish that complements your image. Here is a quick comparison of the two primary choices:
| Finish Type | Visual Effect | Practical Characteristics |
|---|---|---|
| Matte (Eggshell) | Soft, sophisticated, and slightly muted colors. | Highly resistant to fingerprints and glare. |
| Semi-Gloss (Satin) | Vibrant, high-contrast color reproduction. | Slightly more susceptible to smudges from handling. |
Print Quality
Our production facility utilizes HP Indigo digital presses. These machines represent the 2026 gold standard for commercial printing in the US.
Unlike standard dry toner printers, HP Indigo equipment uses liquid electrophotography to achieve offset-matching quality. This technology produces richer colors, smoother gradients, and razor-sharp typography.
Every single card in your order will feature the exact same level of detail and color accuracy.
Step 4: Proofing
We provide a same-day digital proof so you can review the exact layout before production begins. This soft-proofing stage is your opportunity to catch any minor errors.
Monitor settings can slightly distort how colors appear on a screen. For the most accurate preview, set your monitor brightness to around 120 cd/m2.
During your review, verify these critical elements:
- Cropping: Are the subjects clearly visible and clear of the bleed margins?
- Color accuracy: Does the image look natural and free of strange color casts?
- Text details: Are all names, times, and venue addresses perfectly spelled?
- Balance: Does the typography on the front complement the visual weight of the back?
Our design team handles all revisions free of charge. You should feel completely confident before granting final approval.
Step 5: Production and Delivery
We send your files straight to the HP Indigo press once you approve the digital proof. Most commercial print runs finish and ship within a few business days.
Shipping logistics demand careful planning. A July 2025 USPS update set the standard 1-ounce First-Class letter rate at $0.78, with delivery typically taking 2 to 5 days across the US.
Our standard advice is to order 15% to 20% more invitations than your guest list requires. Having extras on hand covers last-minute additions, and you will appreciate the exceptional quality the moment you hold the thick, professionally printed card.
Tips for the Best Results
We compiled a final checklist of actionable insights to guarantee a flawless print run. Review these best practices before finalizing your files:
- Send your highest resolution photo. A 3.15-megapixel image (1500 by 2100 pixels) is the absolute minimum requirement for a crisp 5x7 print.
- Choose a universally loved image. You and your partner must both feel great about the picture, as it will represent your event to every guest.
- Coordinate color palettes. The hues in your photograph should seamlessly match the typography and background colors on the front side.
- Monitor envelope weight. The USPS charges $1.07 for a 2-ounce letter, so weigh a fully assembled sample at the post office before buying stamps.
Ready to Create Your Photo-Back Invitations?
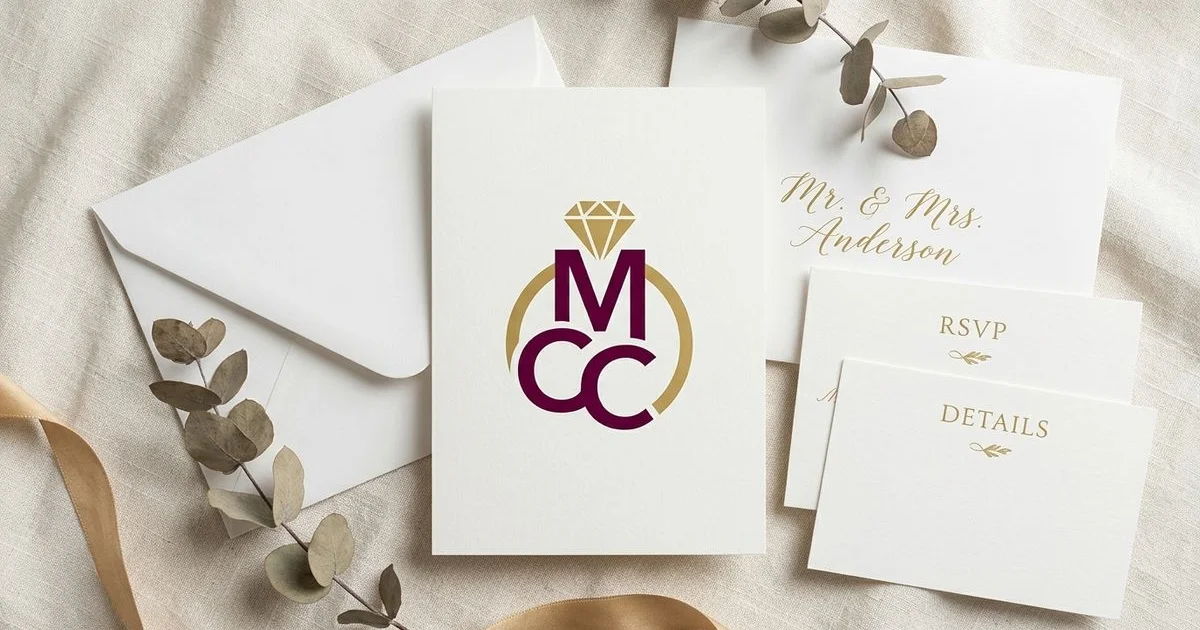
We know that premium stationery sets the perfect tone for any major event. Now that you understand how photo-back wedding invitations work and what to expect from start to finish, the streamlined process at MCC Wedding Invitations removes the stress from commercial printing.
Your guests will notice the heavy cardstock, the vibrant HP Indigo colors, and the flawless design layout.
Ready to get started? Request a free quote or explore our photo wedding invitations.